
Painted Rooms That Look Finished, Not Just Covered
Interior Painting in Pittsfield for walls and ceilings where uneven surfaces, faded color, or inconsistent coverage have made rooms look worn
Walls that have been cleaned, patched, primed, and painted correctly read differently than walls that have simply had fresh paint applied over whatever condition they were already in. KJ Home Improvement LLC handles interior painting in Pittsfield by starting with surface preparation rather than skipping to color—because the quality of the finished coat depends almost entirely on the condition of the surface underneath it. Homeowners who want rooms that look genuinely refreshed rather than just recently painted are the clients this work is designed for.
Before any paint is applied, surfaces are cleaned to remove dust, grease, and any residue that would prevent proper adhesion. Minor damage—small holes, hairline cracks, dents from hardware or furniture—is patched and sanded flush. Areas where the existing paint is glossy receive light sanding so the new coat bonds rather than peeling back over time. Primer is applied where the substrate or the color change requires it. That sequence is not optional procedure; it is what determines whether the paint job looks the same in two years as it does the week it was completed. Throughout the work, surrounding areas including floors, trim, and furniture are protected so the room is left clean when the job is done.
Set up a walk-through of the rooms you want painted so surface conditions can be assessed and the preparation scope can be confirmed before work begins.
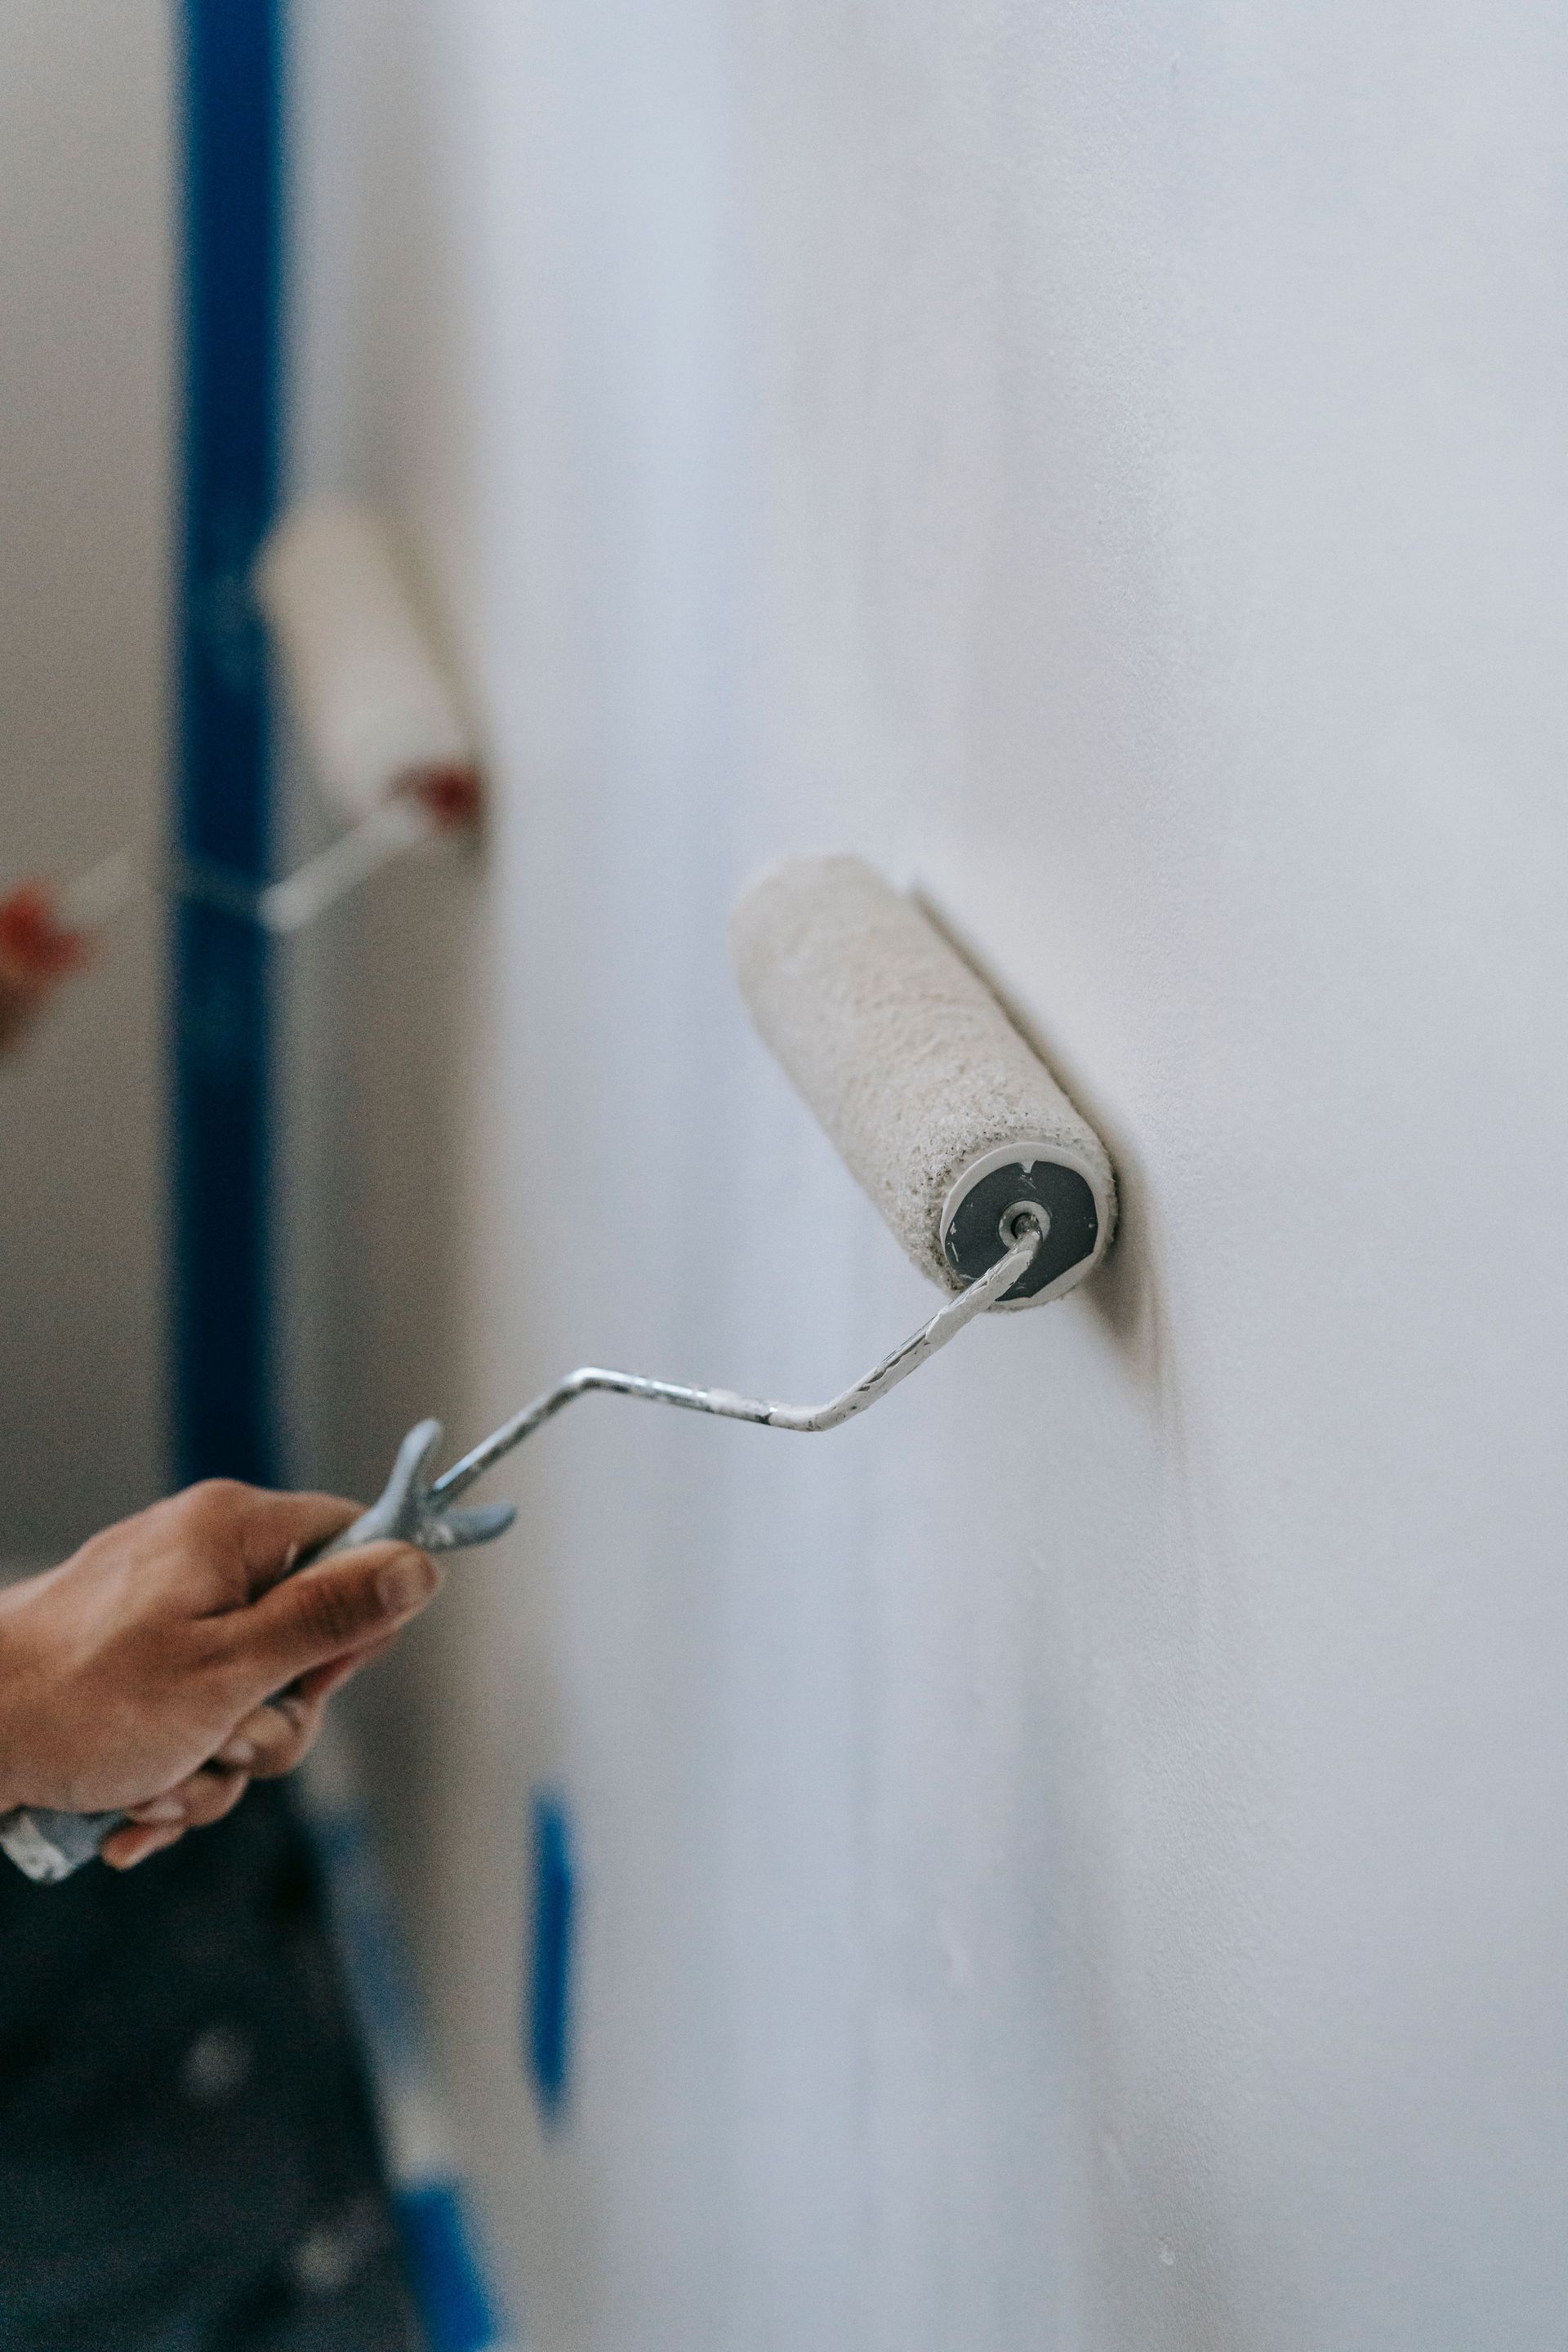
What Interior Painting Actually Accomplishes
Color and finish selection are decisions that affect how a room functions visually, not just how it looks on a paint chip. Flat and matte finishes absorb light and are forgiving on walls with minor texture variation, but they are difficult to clean—which makes them a poor choice for kitchens, hallways, or children's rooms. Eggshell and satin finishes offer a degree of washability while still reading as low-sheen on the wall. Semi-gloss reflects light more aggressively and is standard on trim and cabinetry for good reason: it is durable and easy to wipe down. Selecting the right finish for each surface in a room is as much a functional decision as an aesthetic one.
Once the project is complete, the difference is immediate and specific: walls read as a single consistent plane of color rather than a surface interrupted by shadows from previous damage, lap marks from rushed application, or the flashing that appears when paint absorbs unevenly across a wall. Ceilings that have been properly cut-in at the wall line no longer show the jagged or wide borders that result from working without care at the perimeter.
Many homes in Pittsfield carry multiple layers of paint from decades of previous repaints, and in some cases that layering has built up enough to obscure detail in trim profiles or cause paint to crack and peel at corners and edges. When those conditions are present, the preparation phase addresses them directly rather than painting over them and allowing the underlying problem to telegraph through the new coat.
Common Questions About This Service
Interior painting involves a preparation sequence that most people do not see but that determines everything about the finished result. The questions below explain what that process looks like in practice and what affects the outcome in your specific rooms.
- What surface preparation steps are done before painting walls and ceilings? Surfaces are cleaned, minor damage is filled and sanded, glossy areas are scuff-sanded for adhesion, and primer is applied where the surface or the color change requires it. Each of those steps directly affects how the finished paint coat looks and how long it holds up without peeling or cracking.
- How does finish selection affect the appearance of a painted room? Finish level determines how much light a surface reflects and how visible texture variations and minor imperfections are. A flat finish minimizes surface irregularities by absorbing light evenly, while a higher-sheen finish amplifies them—which is why the same wall can look dramatically different depending on which finish is applied.
- Why do some rooms require primer before a new coat of paint? Primer is needed when the existing surface is porous, when the color change involves going from a dark to a light color, or when fresh patching compound has been applied. Without primer in those situations, the new paint absorbs unevenly and the finished coat flashes—appearing lighter or darker in patches across the wall.
- How are cut-in lines managed at ceilings, trim, and corners to keep them straight? Cut-in work at wall-to-ceiling lines and trim is done by hand using an angled brush, working in controlled strokes that establish a consistent edge. Tape is used at trim profiles and baseboard lines to protect finished woodwork, and it is removed before the paint has cured completely to avoid pulling the film edge.
- What should you check for when reviewing a completed interior painting project? Look at walls in raking light from a low angle—this reveals any areas where texture or repair work reads differently than the surrounding surface, where lap marks are present, or where coverage is thin. At ceiling lines and trim, the edge should be straight and consistent with no runs or overlap onto adjacent surfaces.
KJ Home Improvement LLC is available to walk through your home, review the condition of the surfaces you want painted, and confirm the preparation and painting scope before the project starts. Provide details about the rooms you have in mind to begin the conversation.